In this guide, we'll walk through the process of querying a Google BigQuery database and displaying the results in a Zendesk support ticket using FactBranch. This method also works exactly the same with Zendesk Sell and Zendesk Chat.
To get started, create a FactBranch account. Every account starts with a 14-day free trial. Once you've created your account, navigate to the data pipeline dashboard and select the option to show data in the FactBranch Zendesk app.
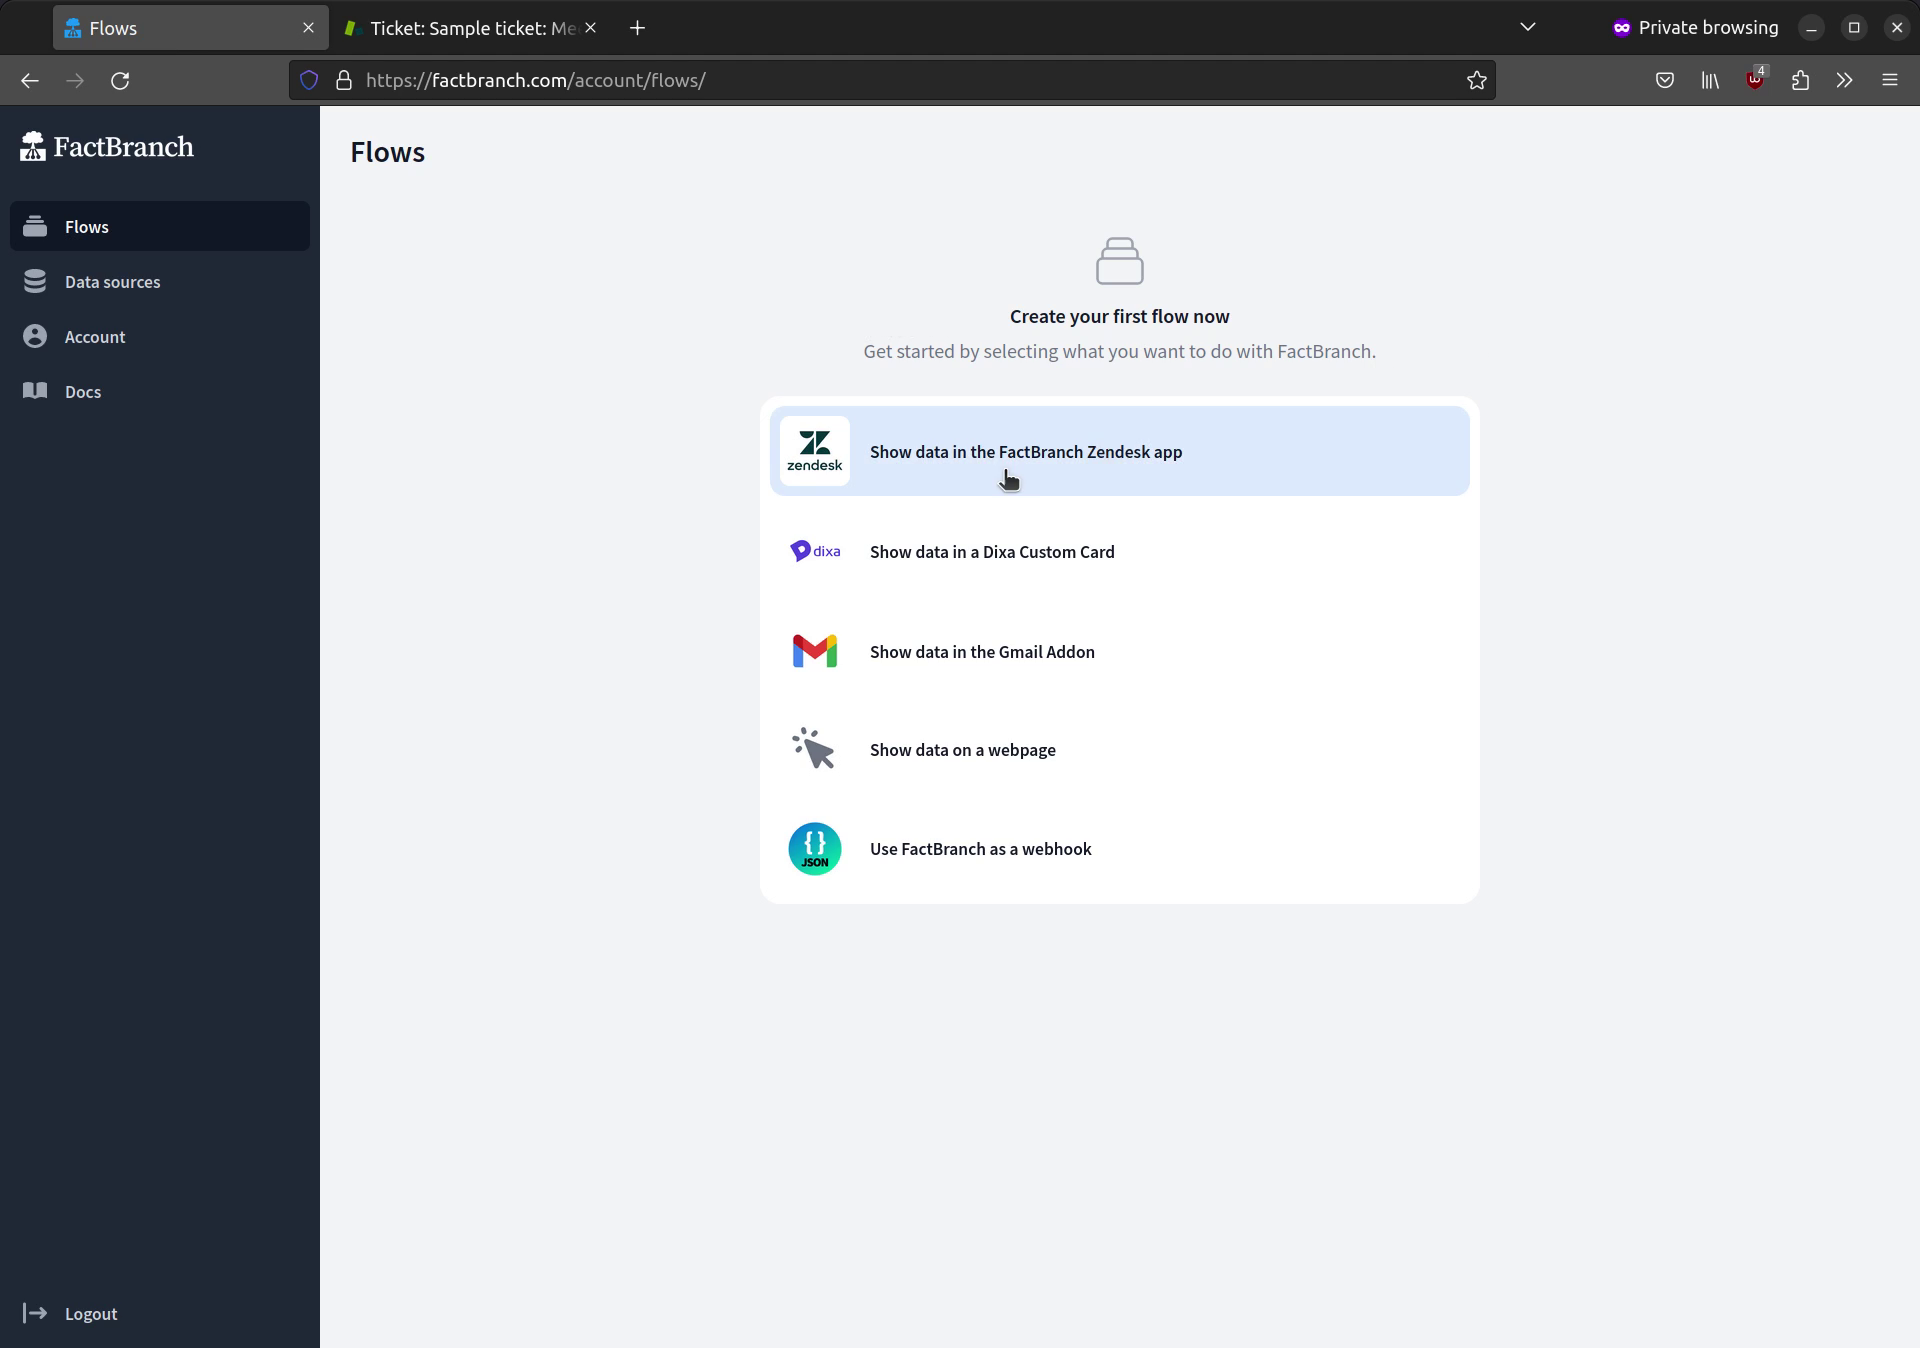
The most basic data pipeline consists of a trigger and a display node. The trigger initiates the pipeline (in our case, the Zendesk app), and the display node shows the data we retrieve from the BigQuery database. What's missing at this point is the node that actually queries the BigQuery database. So let's create that next.
First, connect your Google BigQuery account to FactBranch. Navigate to 'Data Sources' click 'Add data source' and select 'Google BigQuery'. You'll be redirected to an OAuth flow to grant read access.
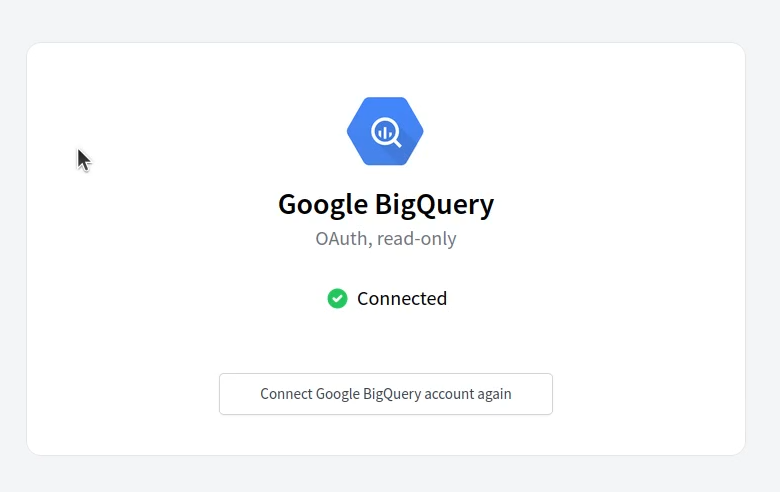
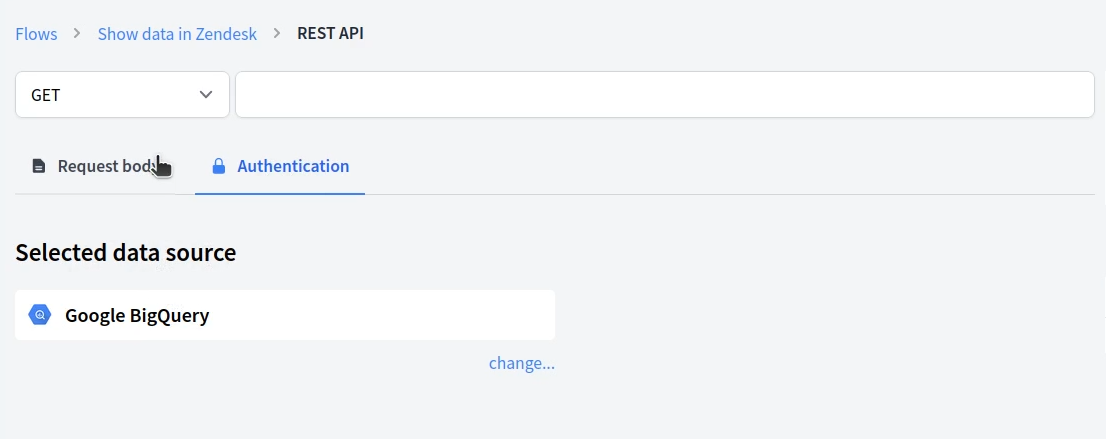
Once your BigQuery account is connected, go back to the flow you've just created and add a REST API node. Head to the Authentication tab and make sure the Google BigQuery account we've just connected, is selected as the authentication method.
Return to the Request body tab and enter the following details:
https://bigquery.googleapis.com/bigquery/v2/projects/YOUR_PROJECT/queriesReplace YOUR_PROJECT with your actual project ID in Google BigQuery.
Next, you'll need to enter the request payload, which contains the SQL query to fetch data from BigQuery. Use the following as a starting point.
{
  "query": "SELECT * FROM <YOUR_TABLE> WHERE email=@email",
  "defaultDataset": {
    "datasetId": "<YOUR_DATASET>",
    "projectId": "<YOUR_PROJECT>"
  },
  "useLegacySql": false,
  "queryParameters": [
    {
      "name": "email",
      "parameterType": {
        "type": "STRING"
      },
      "parameterValue": {
        "value": $trigger.data.email
      }
    }
  ]
}
Replace YOUR_PROJECT, YOUR_DATASET and YOUR_TABLE with your actual project, dataset and table names in Google BigQuery.
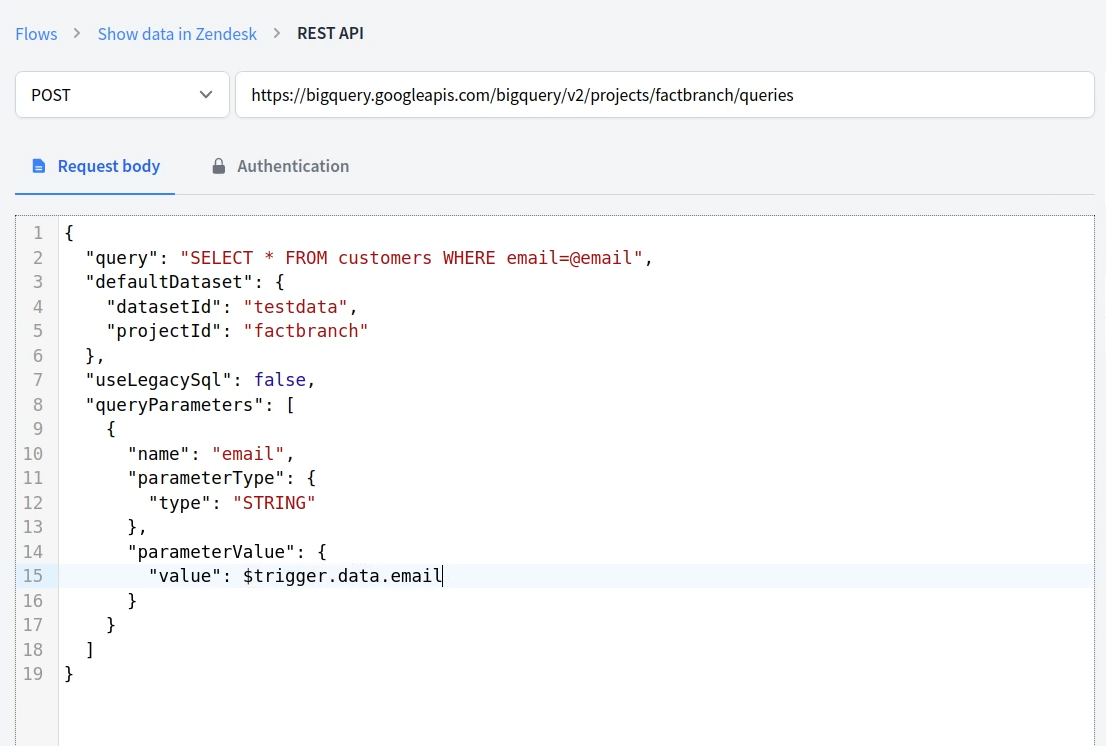
The payload above contains two levels of placeholders: In queryParameters we
define a placeholder called email that we can use in the SQL query as
@email. In parameterValue.value we use FactBranch's placeholder to supply
the actual value, that we want to look up, to the request.
BigQuery returns data in a specific format, consisting of an array of rows with values and additional meta-information about the query.
In the Show data in Zendesk flow, click Edit in the Zendesk App Display node to create a visual output that will be displayed in the Zendesk sidebar.
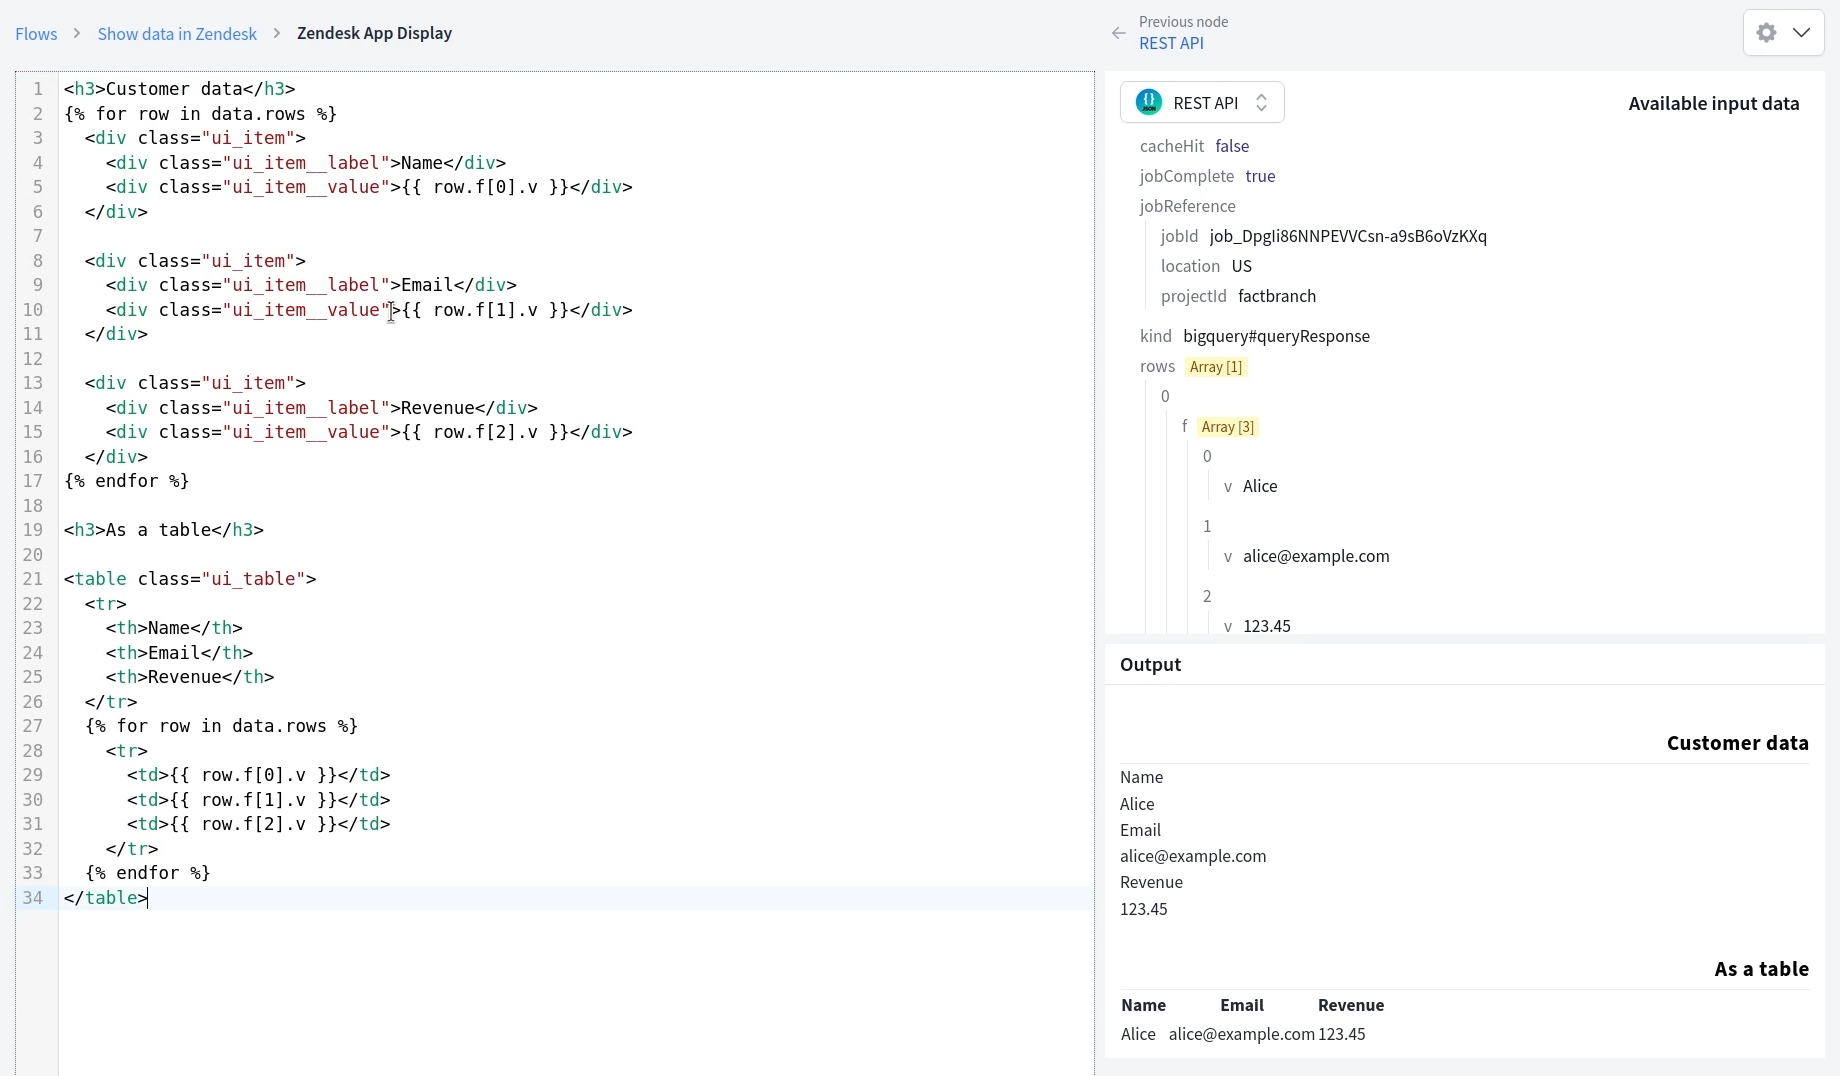
An example template displaying the data in a label-value style and a table style simultaneously, that you can use as a starting point, is shown below:
<h3>Customer data</h3>
{% for row in data.rows %}
  <div class="c_fbzd_item">
    <div class="c_fbzd_item__label">Name</div>
    <div class="c_fbzd_item__value">{{ row.f[0].v }}</div>
  </div>

  <div class="c_fbzd_item">
    <div class="c_fbzd_item__label">Email</div>
    <div class="c_fbzd_item__value">{{ row.f[1].v }}</div>
  </div>

  <div class="c_fbzd_item">
    <div class="c_fbzd_item__label">Revenue</div>
    <div class="c_fbzd_item__value">{{ row.f[2].v }}</div>
  </div>
{% endfor %}


<h3>As a table</h3>

<table class="c_fbzd_table">
  <tr>
    <th>Name</th>
    <th>Email</th>
    <th>Revenue</th>
  </tr>
  {% for row in data.rows %}
    <tr>
      <td>{{ row.f[0].v }}</td>
      <td>{{ row.f[1].v }}</td>
      <td>{{ row.f[2].v }}</td>
    </tr>
  {% endfor %}
</table>
Also check out our detailed documentation on the Zendesk App Display node
If everything is set up correctly, you should see the query result from Google BigQuery rendered in the custom card preview.
Finally, install the FactBranch app in Zendesk by following the links provided in your trigger config in your data pipeline. During installation, you'll need your API key from FactBranch which links your data pipeline with Zendesk.
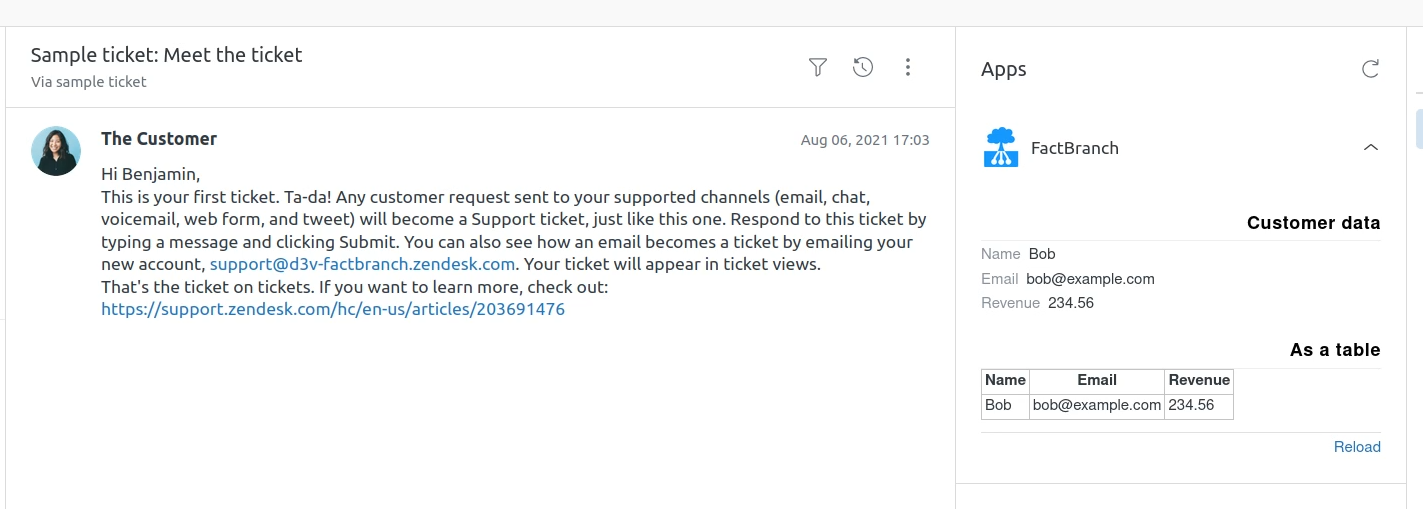
And that's it! You've successfully set up a system that queries data from Google BigQuery and displays it in your Zendesk support tickets. Remember that this setup works just as well for Zendesk Sell and Zendesk Chat too!
Ready to give it a try? Start your 14-day free trial today.
Sign up for our newsletter to get our freshest insights and product updates.
We care about the protection of your data. Read our Privacy Policy.