In this guide, we'll walk you through the process of displaying data from a MySQL database in the Zendesk app sidebar. We will be using FactBranch, a versatile tool that also works with Zendesk Chat and Zendesk Sell. We've also created a step-by-step video guide, in which we set up everything in 6 minutes:
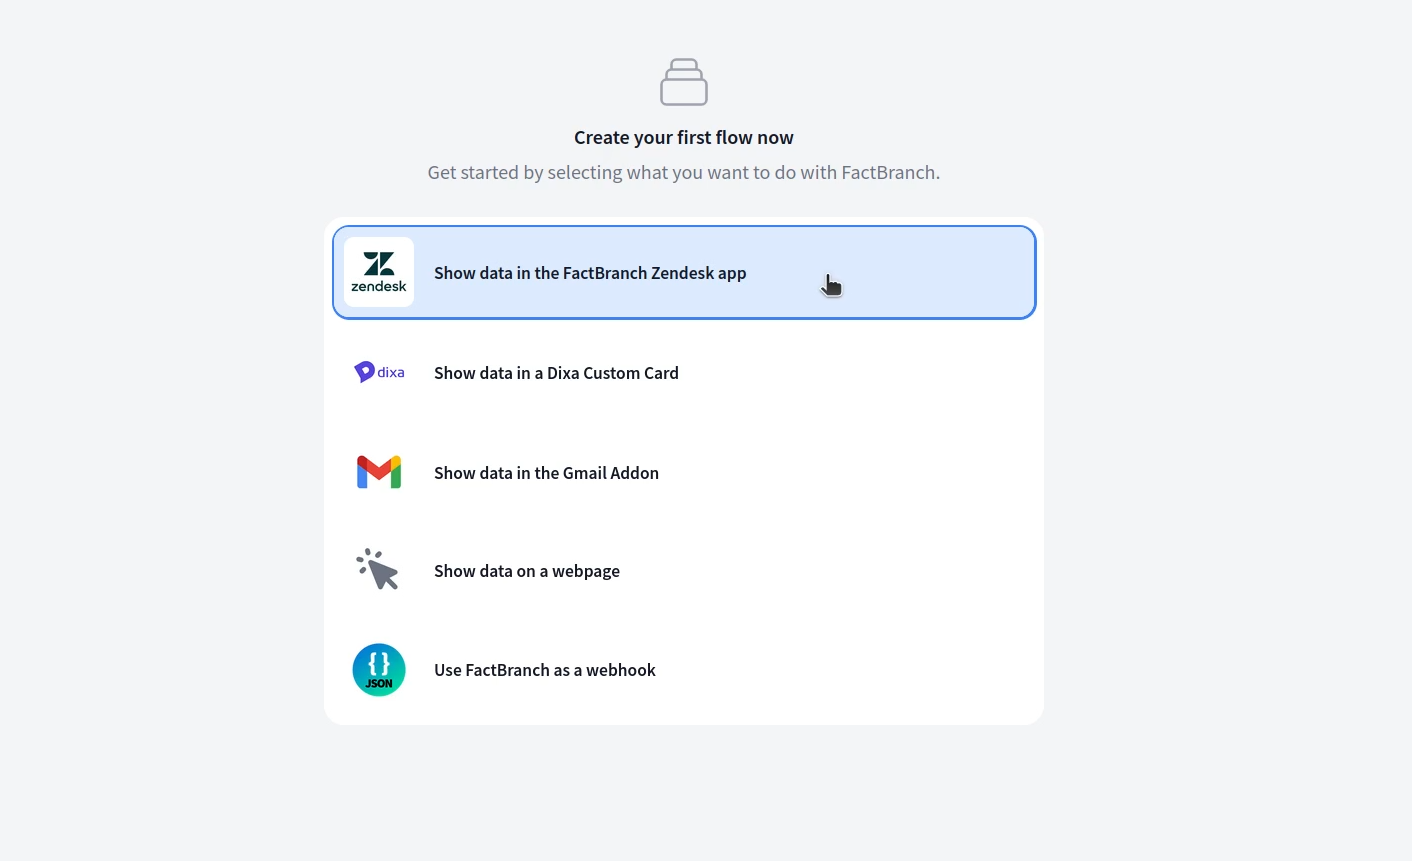
FactBranch is a powerful tool that allows you to create user interfaces around your various data sources. To get started, create a FactBranch account. After that, you'll see a few options. Select "Show data in the FactBranch Zendesk app".
The basic data pipeline consists of a trigger and a display node. In this case, our trigger is the Zendesk app which we will install later. The trigger receives data and forwards it to the next node in the pipeline.
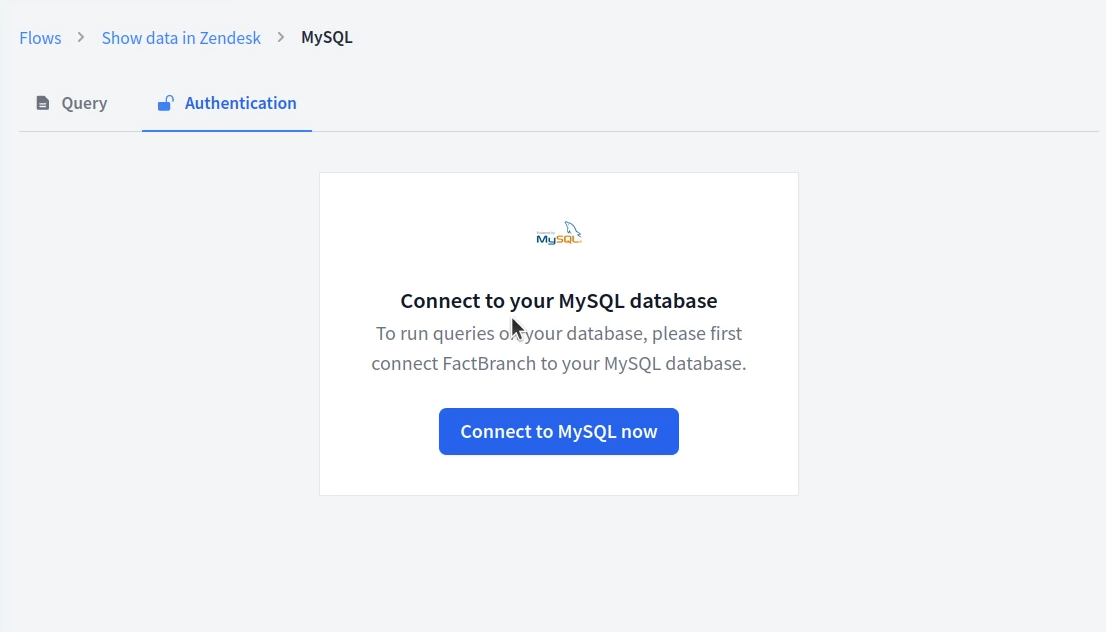
Next, we create a MySQL query node. This requires connecting to your database and entering the necessary credentials.
If your database sits behind a firewall and you have to allow access for a specific IP address, enable "Use a static IP when making database requests" and allow access from the IP that's displayed in the yellow box.
We recommend you create a MySQL user specifically for FactBranch, that only has read access on the tables you want to query. Here is the very simple MySQL code that should get you started in the right direction:
CREATE USER 'factbranch'@'yourhostname' IDENTIFIED BY 'yourpassword';
This will create a user called factbranch with the password yourpassword. Be
sure to replace yourhostname and yourpassword with your own values.
Next we allow that user to run SELECT queries on the table customer in the
database yourdatabase.
GRANT SELECT ON yourdatabase.customer TO 'factbranch'@'yourhostname';
This is just a quick intro and you should consult with your database admin on your specific requirements. You can find a more in-depth look at creating MySQL users here.
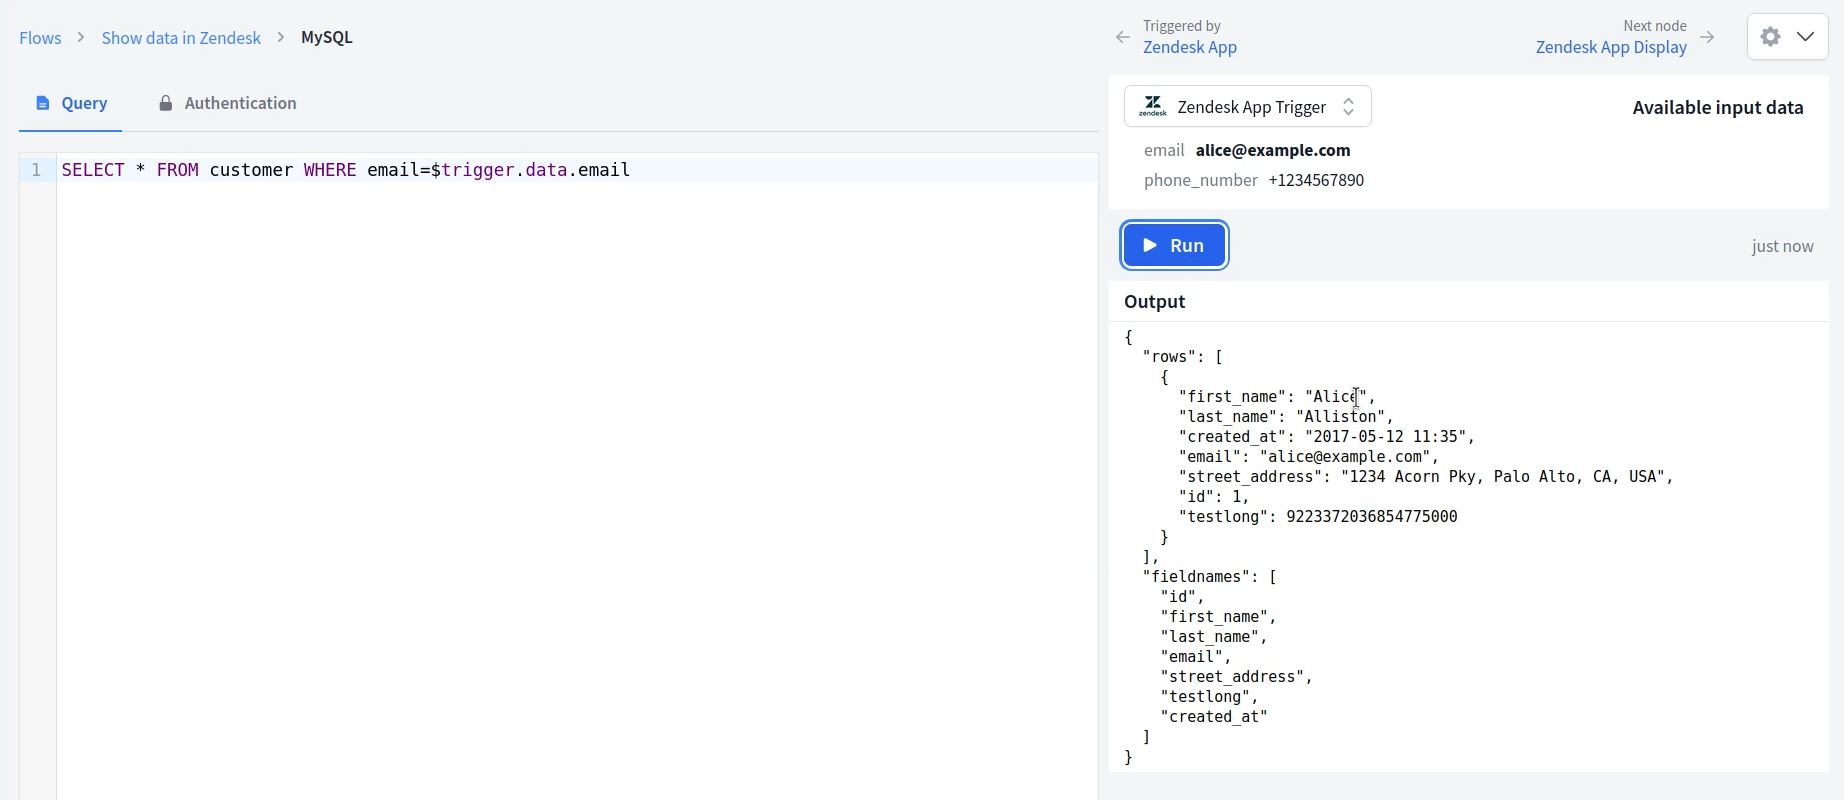
Once connected to your database, insert your SQL query to load data from your database. To use placeholders in your query, simply copy the variable name from the test input panel on the right.
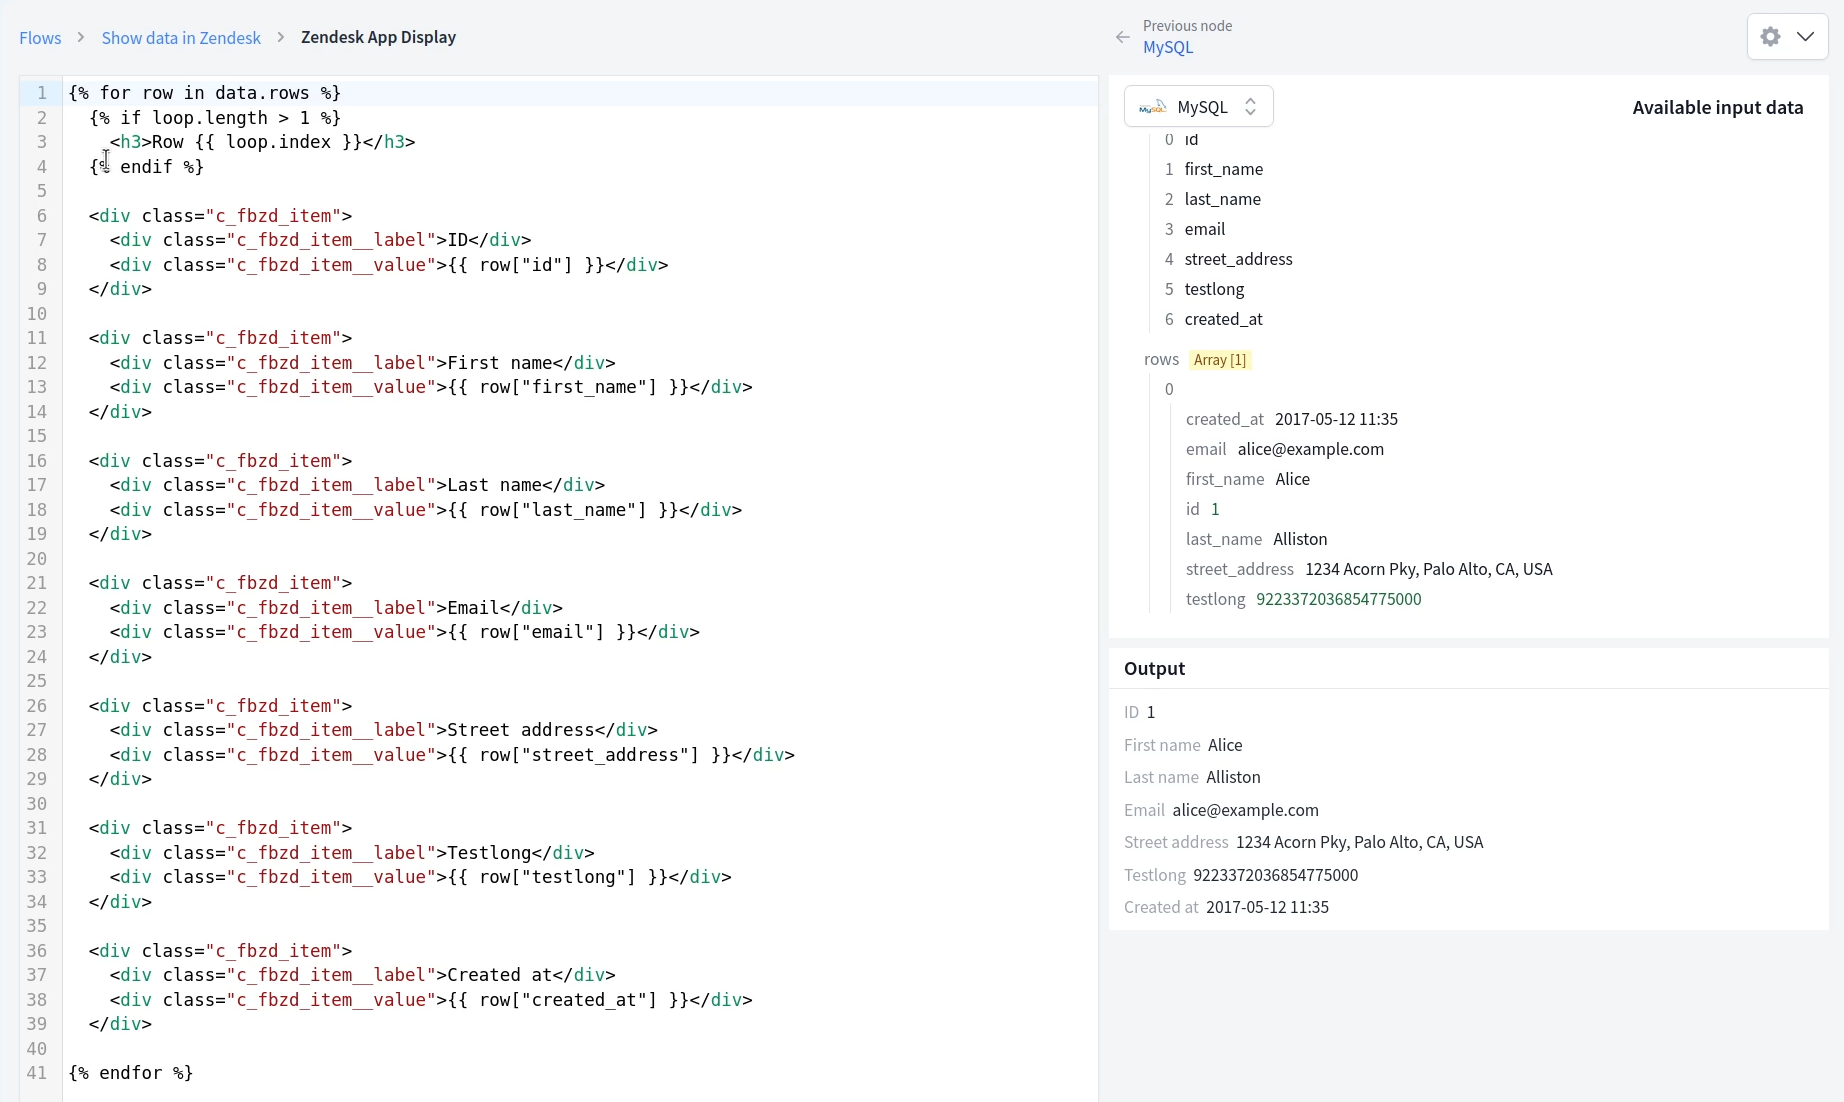
FactBranch makes it easy to create a GUI using the data you got from your SQL query. Use the 'Generate UI' button to create an HTML-based UI that best represents your data. Of course you can edit the HTML of the template. FactBranch uses a templating language similar to Jinja2 or Liquid. Don't forget to check out more advanced template techniques in our docs.
Finally, install the Zendesk app by clicking on 'config' for the Zendesk app trigger and then selecting 'Zendesk Support'. Copy your API key and paste it when you're asked during the app installation. You also have the option to restrict app access to certain roles or groups.
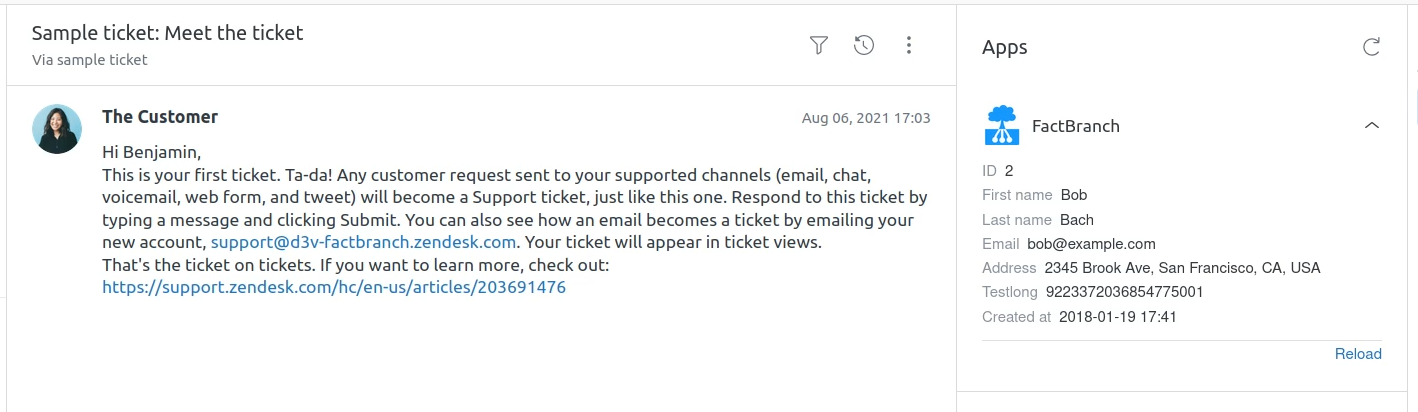
Your query will now run automatically when an agent opens a Zendesk ticket. The data will be displayed right next to the ticket, or in Sell wherever you activate FactBranch's Zendesk app. This process is applicable for both Zendesk Chat and Zendesk Sell as well. To get started, create an account and start your 14-day free trial now.
Sign up for our newsletter to get our freshest insights and product updates.
We care about the protection of your data. Read our Privacy Policy.