Are you looking for a way to display data in Gmail? FactBranch's Gmail addon might be just what you need. In this article, we'll go through the process of creating a flow for the Gmail addon in FactBranch, installing the FactBranch app in Gmail, and collecting real-world test data.
In this article you'll learn:
To create a flow for the Gmail addon in FactBranch, head to your FactBranch Flow dashboard and click on Create Flow and then selecting Show Data in the Gmail Addon. This will create a flow with a Gmail app trigger. Next, click Config next to the trigger block to get to the trigger config page.
The first step in the trigger config page is to collect real-world test data for this flow. In the Incoming Data box, activate Record Requests. This will allow you to collect test data from real Gmail conversations and will make it easier to design the data you'd like to display in the Gmail app.
Next, install the FactBranch app in Gmail. You can find the FactBranch Gmail addon in the Google Workspace Marketplace. You will need the API key from the trigger config page during setup. On the Gmail trigger config page, click on or follow the instructions to get to the app page in the marketplace. Then click Individual Install or Admin Install and continue through the install process.
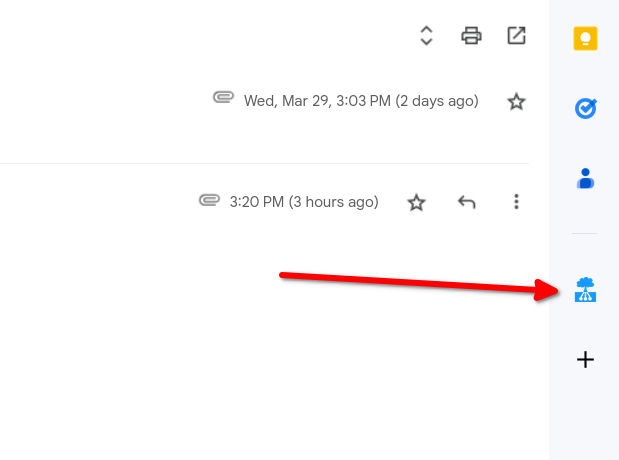
Once you're back in your Gmail account, open a conversation and you should see the FactBranch icon in the sidebar on the right.
Click the icon to open the app and then FactBranch will ask you for your API key. Paste your API key from the trigger page here. Click on Save and the app will try to load data from FactBranch.
Of course, in the beginning, there won't be any data to display. Head back to the trigger config page in FactBranch and in the Incoming data panel click refresh. You should see a new entry that was created when you opened the FactBranch app in Gmail.

Click on the entry to reveal its content. To use that particular data as test data for this flow, click on Use as test data. The trigger's test data below will update. Now you can deactivate Record requests again as you're finished collecting test data.
With the data collected, you can now set up the rest of the Flow by configuring existing nodes or adding more nodes to the Flow.
Check out the UI Builder documentation to learn how to create interfaces for the Gmail addon using the visual component builder.
The quickest way to get started is to use the UI Builder's "Generate UI" feature. When you first create a UI Builder node and it doesn't have any components yet, you'll see a "Generate UI" button. Click this button and it will automatically create Label & Value components for each property in your test data, giving you a starting point that you can then customize.
Here is a quick but complete example showing how to manually configure components.
Let's say you've loaded data from your data source (e.g. an API or your database) and it has the following structure:
{
  "admin_panel": "https://example.com",
  "first_order_on": "2022-03-23",
  "last_review": "★★★★★",
  "location": "Hawthorne, CA",
  "name": "Alice Carlsson",
  "premium": "Yes",
  "signed_up_on": "2021-03-20",
  "total_revenue": "752.82$"
}
With the UI Builder, you would create the following components:
Label & Value component:
Name$data.nameLabel & Value component:
Last Review$data.last_reviewLabel & Value component:
Total Revenue$data.total_revenueLabel & Value component:
Location$data.locationLabel & Value component:
Premium Customer$data.premiumLabel & Value component:
First Order$data.first_order_onLabel & Value component:
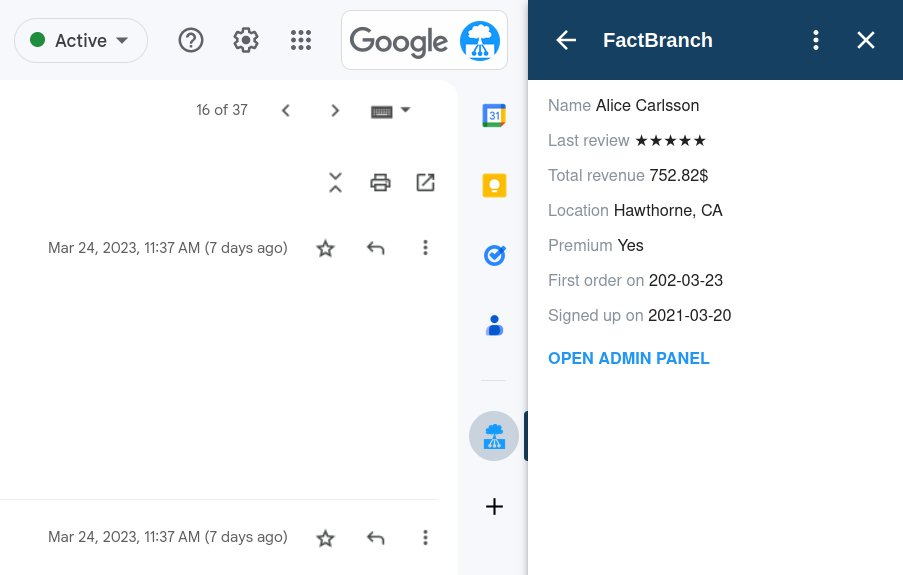
Signed Up$data.signed_up_onButton component:
Open Admin Panel$data.admin_panelWhen you now open a Gmail conversation, FactBranch will load data from your data source and display it like this:
E-commerce and SaaS companies can turn Gmail into the ultimate customer support tool with Gmail add-ons and extensions like Hiver, Streak, Gmelius, Re...
Build data pipelines with FactBranch in no time
How to build workflows and data pipelines in FactBranch
Editing Flows in FactBranch