The Flow Editor lets you construct custom data pipelines consisting of different nodes. All Flows start with a trigger, which sends the initial data into the pipeline. With this initial data the first node of the Flow is executed. Whatever that node outputs is sent to the next node and so on. The results of the last node are returned as a result of the whole Flow.
In this article you'll learn about:
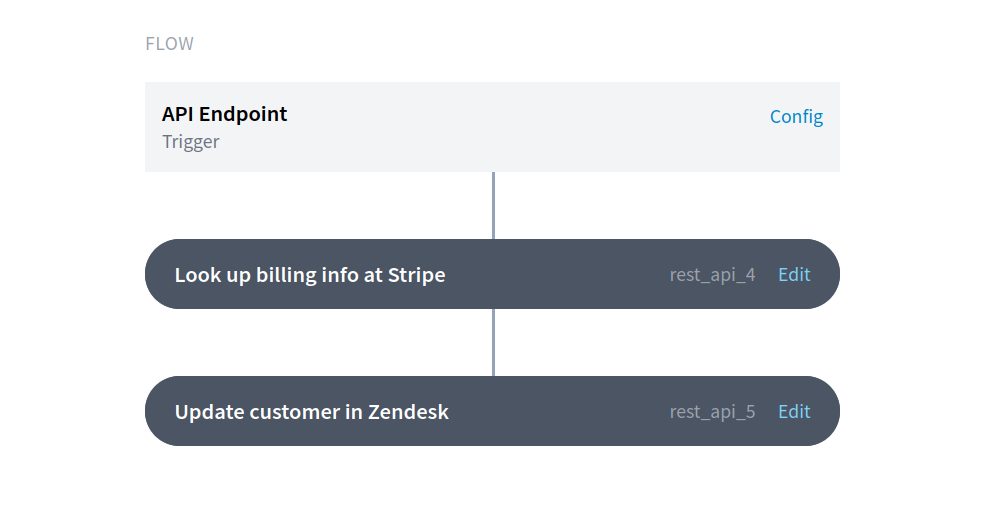
To open the editor for a specific Flow, head to your Flows dashboard and either click on any of your existing Flows or create a new one. You'll see the Flow's trigger and its nodes.
The trigger tells FactBranch to run a specific Flow. In the Flow Editor the trigger will always be the first block and you can't move it around because the trigger is the entry point.
To see how to use the particular trigger and to record incoming data, click on Config.
Each node accomplishes a specific task. It either queries a data source, writes data to a target or renders HTML based on the data it receives.
To edit what a node does (for example change the data it sends to an API or change the API's URL), click on Edit.
Simply drag & drop the node to its new position. The change applies immediately.
Only nodes that follow (directly or indirectly) after the trigger, will be run. The Flow Editor visualizes this by showing the "path" the data takes from trigger to the last node.
You can park a node outside of this path by dropping it on the right in the "pile" of unused nodes. None of the unused nodes will run when the Flow is triggered. The "unused nodes" area is a place to keep nodes that you might want to use later, but don't want to run right now. It's also useful to work on a node before adding it to the Flow.
To create a new node, press Create node and select the type of node you'd like to create. Your new node will be placed in the data pipeline after the trigger, or after the last node that is currently in the Flow. You'll be forwarded to the node's configuration page, where you can set it up.
To rename a Flow, either click on Rename next to the title, or double-click on the title itself. Then enter the new name and click on Save or hit Enter on your keyboard. To revert to the old name, hit the Escape key.
Build data pipelines with FactBranch in no time
How to build workflows and data pipelines in FactBranch
How to display data from an Airtable base in Dixa
Connect to Google Sheets with OAuth authentication